Southern Fried Chicken Recipe – Crispy, Juicy, and Full of Flavor
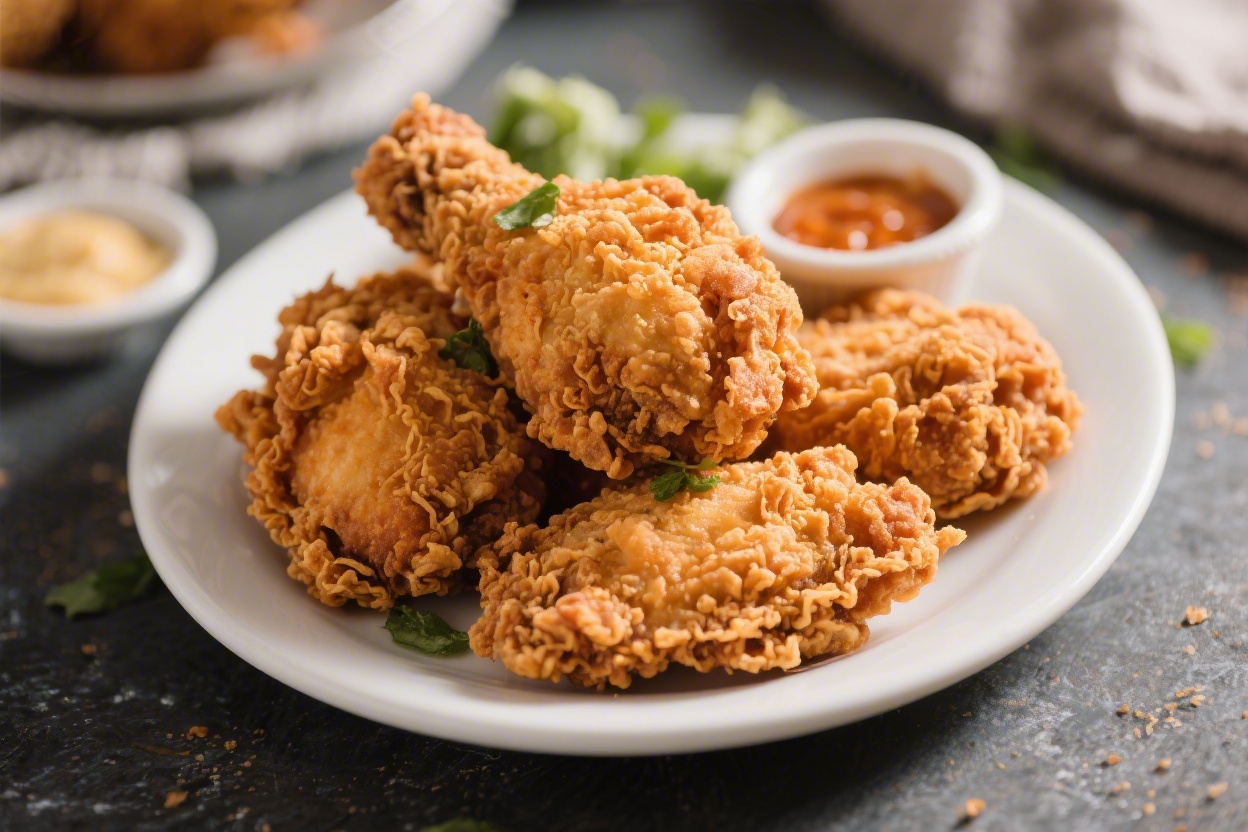
If you’re craving crispy, golden fried chicken with a tender, juicy center, this southern fried chicken recipe will hit the spot. The method is simple, the ingredients are easy to find, and the results taste like home. You’ll get that signature crunch with a well-seasoned crust and perfectly cooked meat.
Whether you’re cooking for a weeknight dinner or a weekend crowd, this is a recipe you’ll want to make again and again.
Why This Recipe Works
This recipe builds flavor from the inside out. The buttermilk brine tenderizes the chicken and seasons it all the way through. A seasoned flour coating clings tightly and fries up into a shattering crust.
The double-dip method—wet then dry, twice—boosts crunch without turning heavy. Frying at the right temperature ensures the outside crisps while the inside stays juicy. It’s a classic method that’s reliable and easy to master.
What You’ll Need
- Chicken: 3–4 pounds of bone-in pieces (drumsticks, thighs, and breasts cut in half)
- Buttermilk: 2 cups (or milk plus 2 tablespoons lemon juice or vinegar as a swap)
- Hot sauce: 1–2 tablespoons (optional, for heat and tang)
- Eggs: 2 large (helps the coating stick)
- All-purpose flour: 3 cups
- Cornstarch: 1/2 cup (adds extra crunch)
- Salt: 2 teaspoons for the flour mix, plus more for seasoning the chicken
- Black pepper: 2 teaspoons
- Paprika: 2 teaspoons (smoked or sweet)
- Garlic powder: 2 teaspoons
- Onion powder: 2 teaspoons
- Cayenne pepper: 1/2–1 teaspoon (adjust to taste)
- Dried thyme or oregano: 1 teaspoon
- Oil for frying: Peanut, canola, or vegetable oil (enough for 2 inches in a Dutch oven)
- Optional finishing salt: Flaky or kosher salt to sprinkle after frying
How to Make It

- Season the chicken. Pat the chicken pieces dry and sprinkle lightly with salt and pepper on all sides.
This first layer of seasoning helps flavor the meat.
- Make the buttermilk brine. In a large bowl, whisk together buttermilk, hot sauce, and eggs. Add the chicken and toss to coat. Cover and refrigerate for at least 2 hours, or up to overnight for the juiciest results.
- Mix the coating. In a separate large bowl, combine flour, cornstarch, salt, black pepper, paprika, garlic powder, onion powder, cayenne, and thyme or oregano.
Stir well so the spices are evenly distributed.
- Set up your dredging station. Remove chicken from the buttermilk, letting excess drip off. Place it on a rack. Keep the flour mixture nearby.
Line a sheet pan with a rack for the coated chicken to rest.
- Dredge for the first coat. Toss a few chicken pieces at a time in the flour mixture. Press the coating into the chicken so it adheres. Shake off excess and place on the rack.
- Double-dip for extra crunch. Dip each coated piece back into the buttermilk, then return it to the flour mixture for a second coat.
Press firmly. Set back on the rack and let it rest 10–15 minutes so the coating sets.
- Heat the oil. Pour oil into a heavy pot to a depth of about 2 inches. Heat to 325–350°F (165–175°C).
Use a thermometer for accuracy. Maintain this range throughout frying.
- Fry in batches. Add chicken pieces carefully, without crowding. Fry dark meat for about 12–15 minutes, white meat for about 10–12 minutes, turning occasionally.
Aim for deep golden brown and an internal temperature of 165°F (74°C).
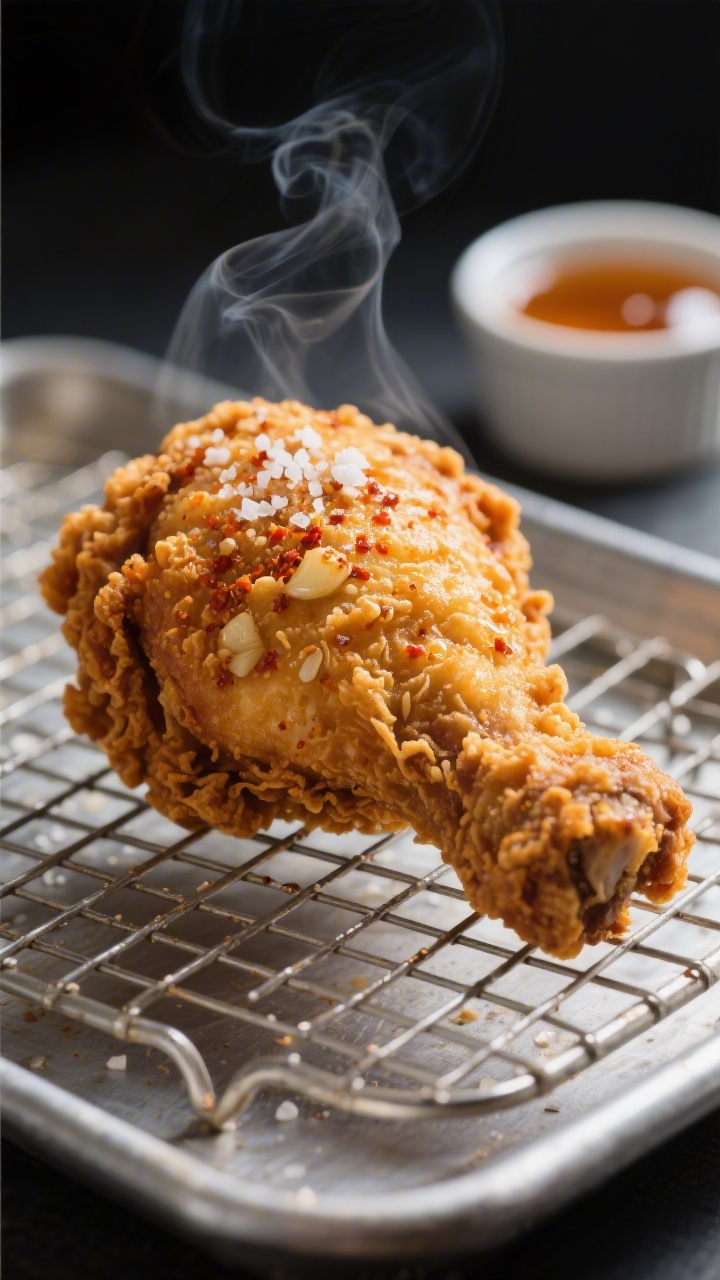
- Drain and season. Transfer fried chicken to a clean rack set over a sheet pan. Sprinkle lightly with salt while hot. Let rest 5–10 minutes to finish carryover cooking and keep the crust crisp.
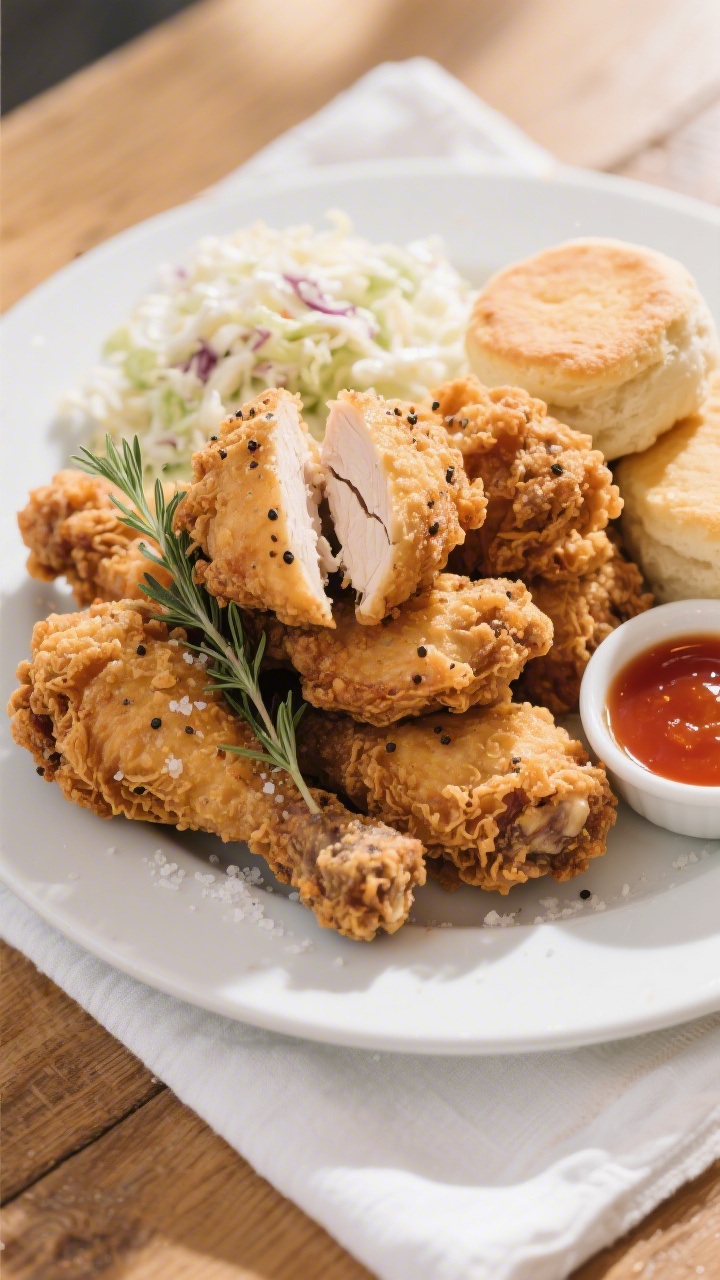
- Serve. Enjoy hot with your favorite sides like coleslaw, biscuits, mashed potatoes, or honey.
The crust should be crisp, the meat tender and juicy.
How to Store
Let leftovers cool completely on a rack so the crust doesn’t steam. Store in an airtight container in the fridge for up to 3–4 days. For best results, reheat on a rack in a 400°F (205°C) oven for 12–15 minutes, or in an air fryer at 360°F for 6–8 minutes, until hot and crisp.
Avoid microwaving if you want to keep the crust crunchy. You can also freeze cooled pieces for up to 2 months; reheat from frozen at 375°F (190°C) until sizzling and hot.
Why This is Good for You
While fried chicken is an indulgence, you can make smarter choices. Dark meat like thighs provides iron and zinc, and all chicken offers high-quality protein for muscle and satiety.
Using oil with a high smoke point helps reduce off-flavors and breakdown. Pair with veggie sides like slaw, green beans, or a salad for balance. Enjoy it mindfully and it fits into a well-rounded diet.
Common Mistakes to Avoid
- Skipping the brine: Buttermilk tenderizes and flavors the meat.
Without it, the chicken can be bland and tough.
- Crowding the pot: Too many pieces drop the oil temperature and lead to greasy crust. Fry in batches.
- Wrong oil temperature: Below 325°F equals soggy; above 350°F burns the crust before the meat cooks. Use a thermometer.
- Not resting the coated chicken: A 10–15 minute rest helps the crust set and stick.
- Placing fried chicken on paper towels: It steams the crust.
Use a wire rack so air circulates.
- Uneven piece sizes: Similar sizes cook more evenly. Cut large breasts in half crosswise.
Variations You Can Try
- Extra-crispy: Add 1 more egg to the buttermilk and increase cornstarch to 3/4 cup.
- Nashville-style hot: Mix 1/3 cup hot oil from the fryer with cayenne, brown sugar, paprika, and garlic powder; brush onto fried chicken.
- Herb-lifted: Stir dried rosemary and sage into the flour mix, and finish with a squeeze of lemon.
- Gluten-free: Use a cup-for-cup gluten-free flour blend and replace cornstarch with potato starch.
- Oven-“fried” option: Coat chicken, spritz with oil, and bake on a rack at 425°F (220°C) for 35–45 minutes, flipping once, until crisp and cooked through.
- Spice swap: Try cumin, chili powder, and smoked paprika for a Southwestern vibe.
FAQ
Can I use boneless chicken?
Yes. Boneless thighs work best because they stay moist.
Reduce frying time to about 6–8 minutes total, depending on thickness. Boneless breasts can be used too, but pound to even thickness for consistent cooking.
Do I have to use buttermilk?
Buttermilk brings tang and tenderizes the meat, but you can mimic it. Mix regular milk with lemon juice or vinegar (1 tablespoon per cup) and let it sit 5 minutes.
You can also use plain yogurt thinned with water.
What oil is best for frying?
Use a neutral, high smoke-point oil like peanut, canola, or vegetable oil. Peanut oil gives great flavor and fries cleanly. Avoid olive oil, which smokes at lower temps and can taste bitter when overheated.
How do I know it’s done without overcooking?
Use a meat thermometer and check the thickest part, avoiding the bone.
You want 165°F (74°C). The juices should run clear, and the crust will be deep golden brown. If pieces brown too fast, lower the heat slightly.
Why does my coating fall off?
Usually it’s moisture or handling.
Pat chicken dry before brining, let excess buttermilk drip, press the flour on well, and rest the coated chicken before frying. Don’t flip too often in the oil, and use tongs gently.
Can I make it ahead?
You can brine the chicken overnight and coat it up to 1 hour before frying. Store coated pieces on a rack in the fridge so the crust sets.
Fry just before serving for the best crunch.
What side dishes go well with it?
Classic choices include coleslaw, potato salad, mac and cheese, collard greens, cornbread, biscuits, or pickles. A drizzle of honey or hot honey is a great finishing touch.
Wrapping Up
This southern fried chicken recipe is all about balance: tender meat, a well-seasoned crust, and the right frying technique. With a simple brine, a smart coating, and steady oil temperature, you’ll get crave-worthy results every time.
Keep a rack handy, don’t rush the process, and serve hot with your favorite sides. It’s a crowd-pleasing classic that always delivers. Enjoy.
Ingredients
Method
- Season the chicken. Pat the chicken pieces dry and sprinkle lightly with salt and pepper on all sides. This first layer of seasoning helps flavor the meat.
- Make the buttermilk brine. In a large bowl, whisk together buttermilk, hot sauce, and eggs. Add the chicken and toss to coat. Cover and refrigerate for at least 2 hours, or up to overnight for the juiciest results.
- Mix the coating. In a separate large bowl, combine flour, cornstarch, salt, black pepper, paprika, garlic powder, onion powder, cayenne, and thyme or oregano. Stir well so the spices are evenly distributed.
- Set up your dredging station. Remove chicken from the buttermilk, letting excess drip off. Place it on a rack. Keep the flour mixture nearby. Line a sheet pan with a rack for the coated chicken to rest.
- Dredge for the first coat. Toss a few chicken pieces at a time in the flour mixture. Press the coating into the chicken so it adheres. Shake off excess and place on the rack.
- Double-dip for extra crunch. Dip each coated piece back into the buttermilk, then return it to the flour mixture for a second coat. Press firmly. Set back on the rack and let it rest 10–15 minutes so the coating sets.
- Heat the oil. Pour oil into a heavy pot to a depth of about 2 inches. Heat to 325–350°F (165–175°C). Use a thermometer for accuracy. Maintain this range throughout frying.
- Fry in batches. Add chicken pieces carefully, without crowding. Fry dark meat for about 12–15 minutes, white meat for about 10–12 minutes, turning occasionally. Aim for deep golden brown and an internal temperature of 165°F (74°C).
- Drain and season. Transfer fried chicken to a clean rack set over a sheet pan. Sprinkle lightly with salt while hot. Let rest 5–10 minutes to finish carryover cooking and keep the crust crisp.
- Serve. Enjoy hot with your favorite sides like coleslaw, biscuits, mashed potatoes, or honey. The crust should be crisp, the meat tender and juicy.
Printable Recipe Card
Want just the essential recipe details without scrolling through the article? Get our printable recipe card with just the ingredients and instructions.

Olivia is a food enthusiast who loves creating simple, delicious recipes for everyday cooking. She shares easy meal ideas, comforting dishes, and kitchen tips to help home cooks enjoy flavorful meals with confidence.