Airfryer Whole Chicken Recipe – Juicy, Crispy, and Weeknight Easy
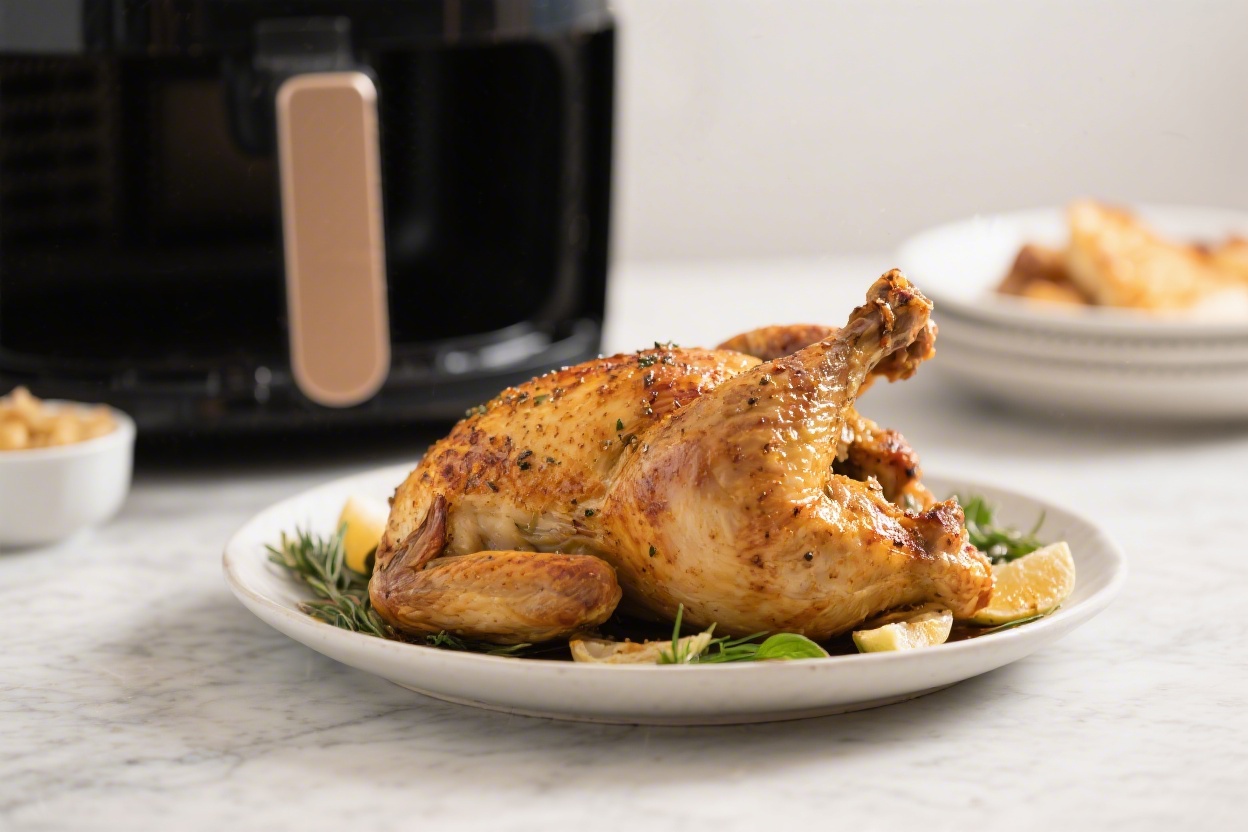
If you want a roast chicken that’s both weeknight-friendly and impressive, the airfryer is your best friend. You get golden, crackly skin and juicy meat without heating up the whole kitchen. This method is straightforward, forgiving, and delivers consistent results.
No special tools, no fuss—just a well-seasoned bird and a bit of time. Once you try it, it may replace your oven roast chicken for good.
Why This Recipe Works
- Dry heat circulation: The airfryer’s fast, even airflow crisps the skin while keeping the meat tender.
- Shorter cook time: Whole chickens finish faster in an airfryer than in a traditional oven, saving energy and time.
- Simple seasoning, big payoff: A basic blend of salt, pepper, garlic, and paprika creates deep flavor with minimal effort.
- No basting required: The airfryer environment naturally promotes browning, so you don’t need constant babysitting.
- Consistent results: Following a few core tips ensures juicy white meat and fully cooked dark meat.
Ingredients
- 1 whole chicken (3.5–4.5 pounds), giblets removed
- 2 tablespoons olive oil (or melted butter)
- 2 teaspoons kosher salt (use 1.5 teaspoons if using fine table salt)
- 1 teaspoon black pepper
- 1.5 teaspoons smoked or sweet paprika
- 1 teaspoon garlic powder
- 1 teaspoon onion powder
- 1/2 teaspoon dried thyme (or Italian seasoning)
- 1 lemon, halved (optional, for cavity)
- 4 garlic cloves, lightly crushed (optional, for cavity)
- Fresh herbs like rosemary or thyme sprigs (optional)
Step-by-Step Instructions
- Prep the chicken: Pat the chicken very dry with paper towels, inside and out. Dry skin equals crisp skin.
- Season the cavity: Sprinkle a pinch of salt and pepper inside.
If using, add lemon halves, garlic cloves, and herb sprigs for aromatics.
- Make the rub: In a small bowl, mix olive oil, salt, pepper, paprika, garlic powder, onion powder, and dried thyme until it forms a paste.
- Coat the chicken: Rub the paste all over the chicken, including under the skin on the breast if you can. Get the legs and wings well coated.
- Truss or tuck: Tie the legs together with kitchen twine for even cooking, or at least tuck the wing tips behind the shoulders to prevent burning.
- Preheat the airfryer: Set to 360°F (182°C) for 3–5 minutes to get it hot.
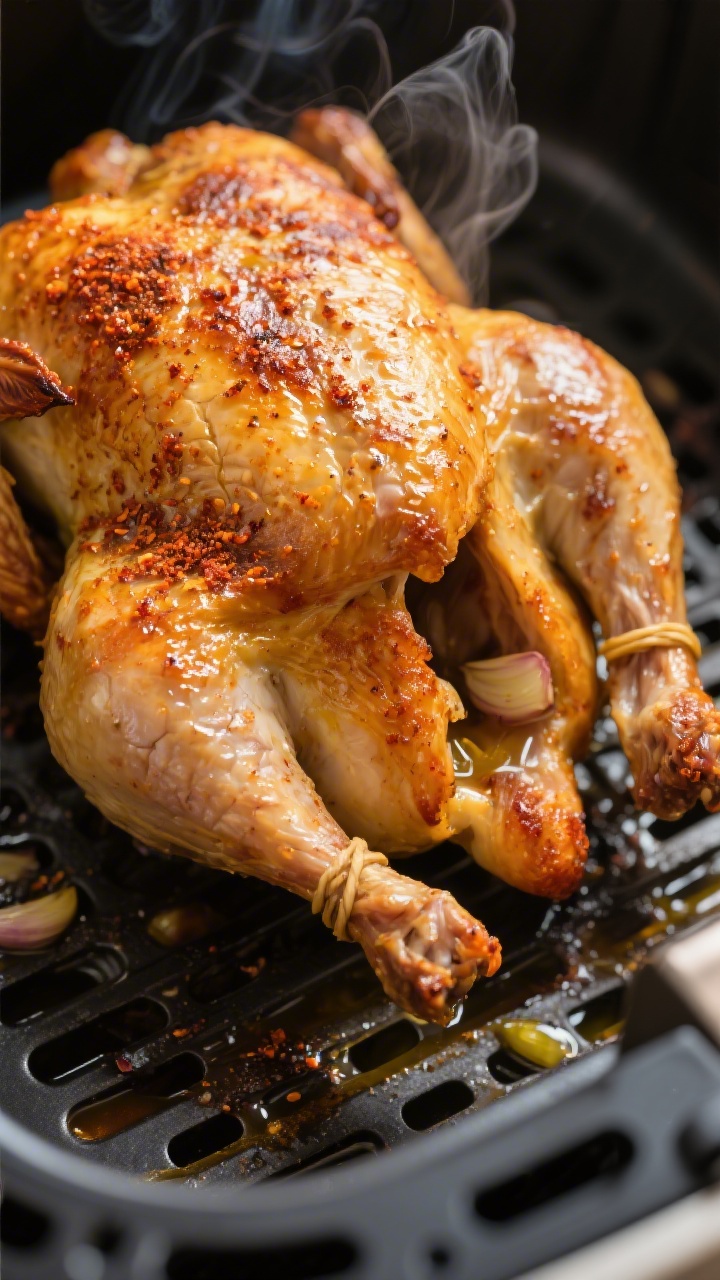
- Place breast-side down: Put the chicken in the basket breast-side down. This helps protect the breast from overcooking early on.
- First cook: Airfry at 360°F (182°C) for 30 minutes.
- Flip and finish: Carefully flip the chicken breast-side up.
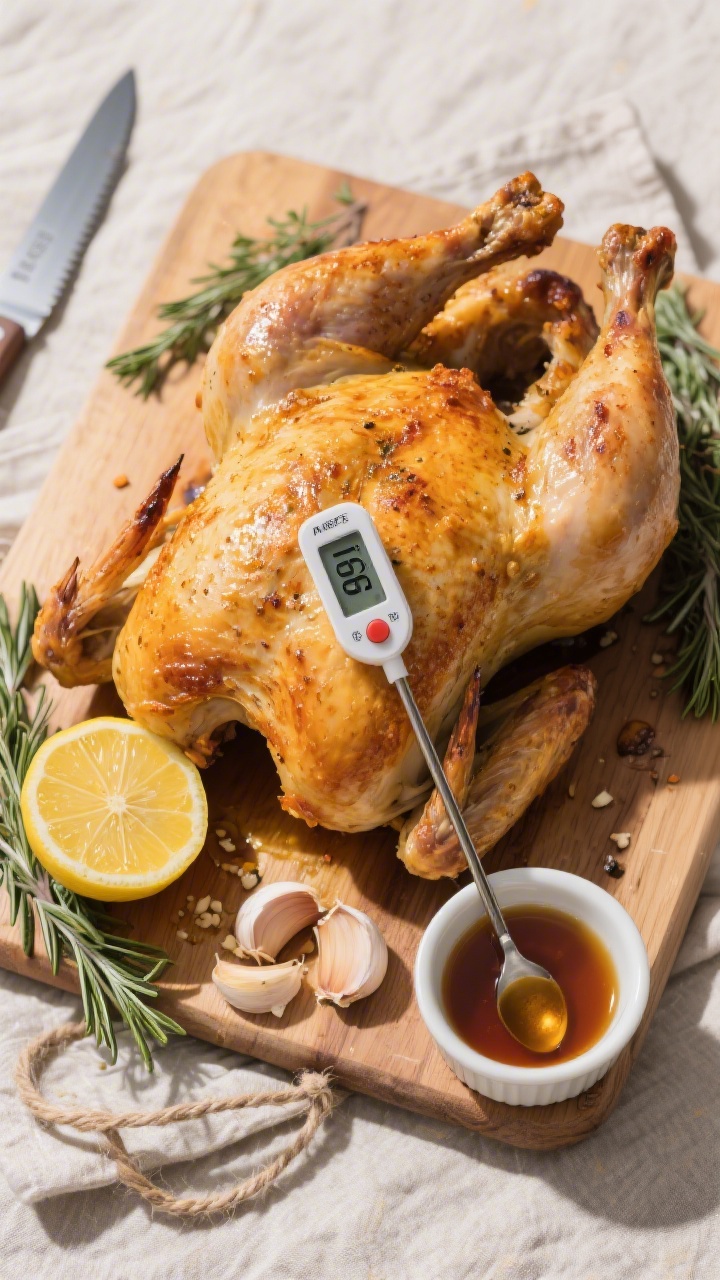
Continue at 360°F (182°C) for 20–30 minutes, or until the thickest part of the breast reads 160°F (71°C) and the thigh reads 175°F (79°C). Skin should be deep golden and crisp.
- Optional crisp boost: If the skin needs more color, increase to 390°F (199°C) for the last 3–5 minutes. Watch closely to avoid burning.
- Rest the chicken: Transfer to a cutting board and rest for 10–15 minutes.
Carryover heat brings the breast to 165°F. Resting keeps juices inside.
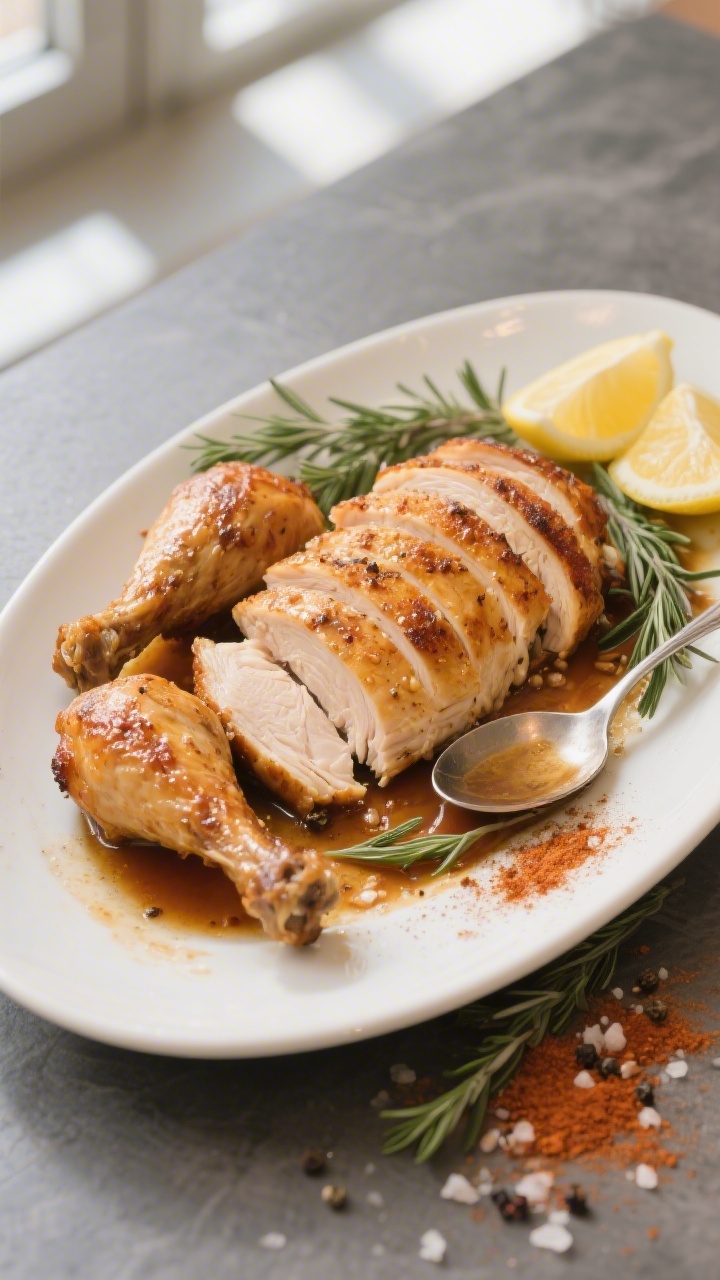
- Carve and serve: Remove legs, thighs, wings, then slice the breast across the grain. Spoon any juices from the board over the meat.
Storage Instructions
- Refrigerator: Store cooled leftovers in an airtight container for up to 4 days.
- Freezer: Shred or slice, then freeze in portions for up to 3 months.
Wrap tightly to prevent freezer burn.
- Reheating: For juicy results, reheat gently in a covered skillet with a splash of broth over low heat. For crispy skin, airfry at 360°F for 4–6 minutes. Avoid microwaving skin-on pieces if you want crispness.
- Use the carcass: Save bones to make stock.
Simmer with onion, carrot, celery, and bay leaf for a rich broth.
Benefits of This Recipe
- Time-saving: Faster than roasting in the oven, with minimal preheat and hands-on time.
- Restaurant-quality skin: The air circulation delivers a shatter-crisp finish without deep frying.
- Budget-friendly: Whole chickens are often cheaper per pound than parts and feed a crowd.
- Flexible seasoning: The base rub is versatile and can be tweaked for any cuisine.
- Meal prep friendly: Leftovers make excellent salads, sandwiches, tacos, and soups.
Pitfalls to Watch Out For
- Overcrowding: If your chicken barely fits, air can’t circulate. Choose a bird that fits your basket with space around it.
- Skipping the dry step: Moist skin won’t crisp. Pat thoroughly before seasoning.
- Uneven cooking: Not flipping can dry out the breast.
Starting breast-side down helps balance doneness.
- Wrong temperature: Too high from the start can burn the skin before the center cooks. Stick to 360°F, then finish hotter if needed.
- No thermometer: Guessing leads to under- or overcooking. Use an instant-read thermometer for accuracy.
Alternatives
- Lemon-pepper: Replace paprika and thyme with 2 teaspoons lemon pepper seasoning.
Add lemon zest to the oil.
- Herb and garlic butter: Swap olive oil for softened butter and add chopped fresh parsley, rosemary, and thyme. Spread under the skin for extra richness.
- Smoky BBQ: Use a BBQ dry rub and finish with a thin glaze of your favorite sauce for the last 5 minutes at 380–390°F.
- Spicy peri-peri: Mix oil with peri-peri sauce, smoked paprika, garlic, and a squeeze of lemon. Great with potato wedges.
- Citrus and cumin: Add ground cumin and coriander to the rub, plus orange zest for a bright, earthy profile.
FAQ
What size chicken fits in most airfryers?
A 3.5–4.25 pound chicken usually fits in a standard 5–6 quart basket.
If yours is smaller, look for a 3–3.5 pound bird or spatchcock the chicken to lay it flatter.
Do I need to brine the chicken?
No, but it helps. A quick dry brine (salt the chicken and refrigerate uncovered for 6–24 hours) improves seasoning and crispness. If you brine, reduce the salt in the rub slightly.
Can I cook a frozen whole chicken in the airfryer?
It’s not recommended.
Whole chickens cook unevenly from frozen and can stay unsafe in the middle. Thaw fully in the fridge for 24–36 hours before cooking.
How do I prevent the skin from sticking to the basket?
Lightly brush or spray the basket with oil before placing the chicken. Also, avoid moving it during the first half of cooking so the skin can set.
What if the skin is browning too fast?
Lower the temperature to 340–350°F and cover the top loosely with a small piece of foil for part of the cook.
Remove the foil for the last minutes to re-crisp.
How do I know it’s done without drying it out?
Use an instant-read thermometer. Pull the chicken when the breast reads about 160°F and the thigh 175°F, then rest 10–15 minutes. The breast will rise to 165°F as it rests.
Can I add vegetables to the basket?
Yes, but keep them in a separate layer or cook them after the chicken rests.
If you crowd the basket, the chicken won’t crisp properly. Toss veggies in the drippings for extra flavor.
Is trussing necessary?
It’s optional but helpful. Trussing or at least tying the legs keeps the bird compact for even cooking and prevents the tips from overexposing to heat.
Final Thoughts
This airfryer whole chicken recipe is simple, fast, and incredibly satisfying.
With a few smart steps—drying the skin, flipping halfway, and checking temps—you’ll get juicy meat and crackly skin every time. Keep the seasoning base the same and swap in flavors to match your mood. It’s a reliable weeknight staple that also feels special enough for guests.
Once it’s resting, you’re just minutes away from carving into your new favorite roast.
Ingredients
Method
- Prep the chicken: Pat the chicken very dry with paper towels, inside and out. Dry skin equals crisp skin.
- Season the cavity: Sprinkle a pinch of salt and pepper inside. If using, add lemon halves, garlic cloves, and herb sprigs for aromatics.
- Make the rub: In a small bowl, mix olive oil, salt, pepper, paprika, garlic powder, onion powder, and dried thyme until it forms a paste.
- Coat the chicken: Rub the paste all over the chicken, including under the skin on the breast if you can. Get the legs and wings well coated.
- Truss or tuck: Tie the legs together with kitchen twine for even cooking, or at least tuck the wing tips behind the shoulders to prevent burning.
- Preheat the airfryer: Set to 360°F (182°C) for 3–5 minutes to get it hot.
- Place breast-side down: Put the chicken in the basket breast-side down. This helps protect the breast from overcooking early on.
- First cook: Airfry at 360°F (182°C) for 30 minutes.
- Flip and finish: Carefully flip the chicken breast-side up. Continue at 360°F (182°C) for 20–30 minutes, or until the thickest part of the breast reads 160°F (71°C) and the thigh reads 175°F (79°C). Skin should be deep golden and crisp.
- Optional crisp boost: If the skin needs more color, increase to 390°F (199°C) for the last 3–5 minutes. Watch closely to avoid burning.
- Rest the chicken: Transfer to a cutting board and rest for 10–15 minutes. Carryover heat brings the breast to 165°F. Resting keeps juices inside.
- Carve and serve: Remove legs, thighs, wings, then slice the breast across the grain. Spoon any juices from the board over the meat.
Printable Recipe Card
Want just the essential recipe details without scrolling through the article? Get our printable recipe card with just the ingredients and instructions.

Olivia is a food enthusiast who loves creating simple, delicious recipes for everyday cooking. She shares easy meal ideas, comforting dishes, and kitchen tips to help home cooks enjoy flavorful meals with confidence.